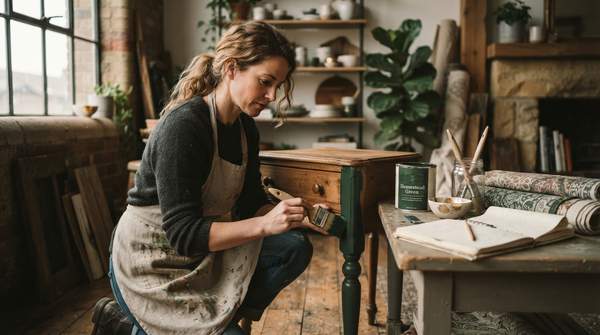
Transforming your living space with unique, handmade touches doesn't require advanced skills or a hefty budget. Accessible do-it-yourself (DIY) projects allow you to personalize your home, fostering creativity and a deep sense of accomplishment. By focusing on foundational techniques like basic painting, textile customization, and creative upcycling, you can infuse your personality into your surroundings using minimal tools and common household items.
Embrace DIY: Personalize Your Home and Boost Creativity
DIY home decor offers a unique opportunity to make your house truly feel like a home. The personal touches you add through these projects create a distinct character that store-bought items simply cannot replicate, as noted by a One Affirmation blog. Engaging in DIY allows you to repurpose items you already own or source affordable materials, turning ordinary objects into unique decor elements that tell your story. This hands-on approach activates your creativity and can be a therapeutic process, providing a sense of accomplishment as your ideas come to life, according to the One Affirmation blog. Spending time crafting also helps you disconnect from screens and fast-paced routines, allowing you to explore creativity without professional pressure and reconnect with the imperfect, a benefit highlighted by a Domestika blog. These projects offer an accessible way to see tangible results quickly, making creating a natural and fun part of your daily life.Foundational Technique 1: Basic Furniture Painting for a Fresh Look
Repurposing old furniture through painting or staining can breathe new life into outdated pieces, transforming them into showstopper items. This technique is a cornerstone of accessible DIY.
Materials and Tools Needed:
- Old furniture piece (e.g., side table, chair, small dresser)
- Sandpaper (medium and fine grit)
- Cleaner (e.g., sugar soap, mild detergent)
- Painter's tape
- Drop cloths or old sheets
- Paintbrushes or small rollers
- Paint (e.g., chalk paint, latex paint, mineral paint)
- Primer (optional, but recommended for drastic color changes or slick surfaces)
- Topcoat or wax (for sealing and durability)
Basic Steps:
- Prepare the Surface: Clean the furniture thoroughly to remove dirt and grime. Lightly sand the entire piece to create a surface that paint can adhere to. For successful upcycling, focus on items that require minimal alterations, such as repainting chairs and tables, suggests Self-Sufficiency & Frugal Living.
- Prime (Optional): If you're painting a dark piece light, or if the surface is very smooth, apply a coat of primer. Let it dry completely according to product instructions.
- Paint: Apply thin, even coats of your chosen paint. Techniques like repainting, staining, or whitewashing can refresh pieces, as demonstrated in Petticoat Junktion tutorials. Allow each coat to dry fully before applying the next. A furniture painting workshop can guide you through the entire process, from start to finish, to master this skill, according to Designed Decor workshop.
- Seal: Once the paint is dry, apply a topcoat or wax to protect the finish and ensure durability.